Here’s to the Pi Phi Cookie Shine!
While the traditions surrounding our beloved gathering vary by chapter, club and region, one thing is for sure — it’s not a Pi Phi Cookie Shine without cookies! We asked Tennessee Delta LINDSAY BELL, the talented founder of Memphis-based Wild Flour Baking Co., to help us bake and decorate the perfect cookies for a Cookie Shine. Follow the steps in Lindsay’s tutorial below to bring some Pi Phi love to your kitchen or your next get-together.


.JPG?lang=en-US&width=250&height=250)
.JPG?lang=en-US&width=250&height=250)
.JPG?lang=en-US&width=250&height=250)
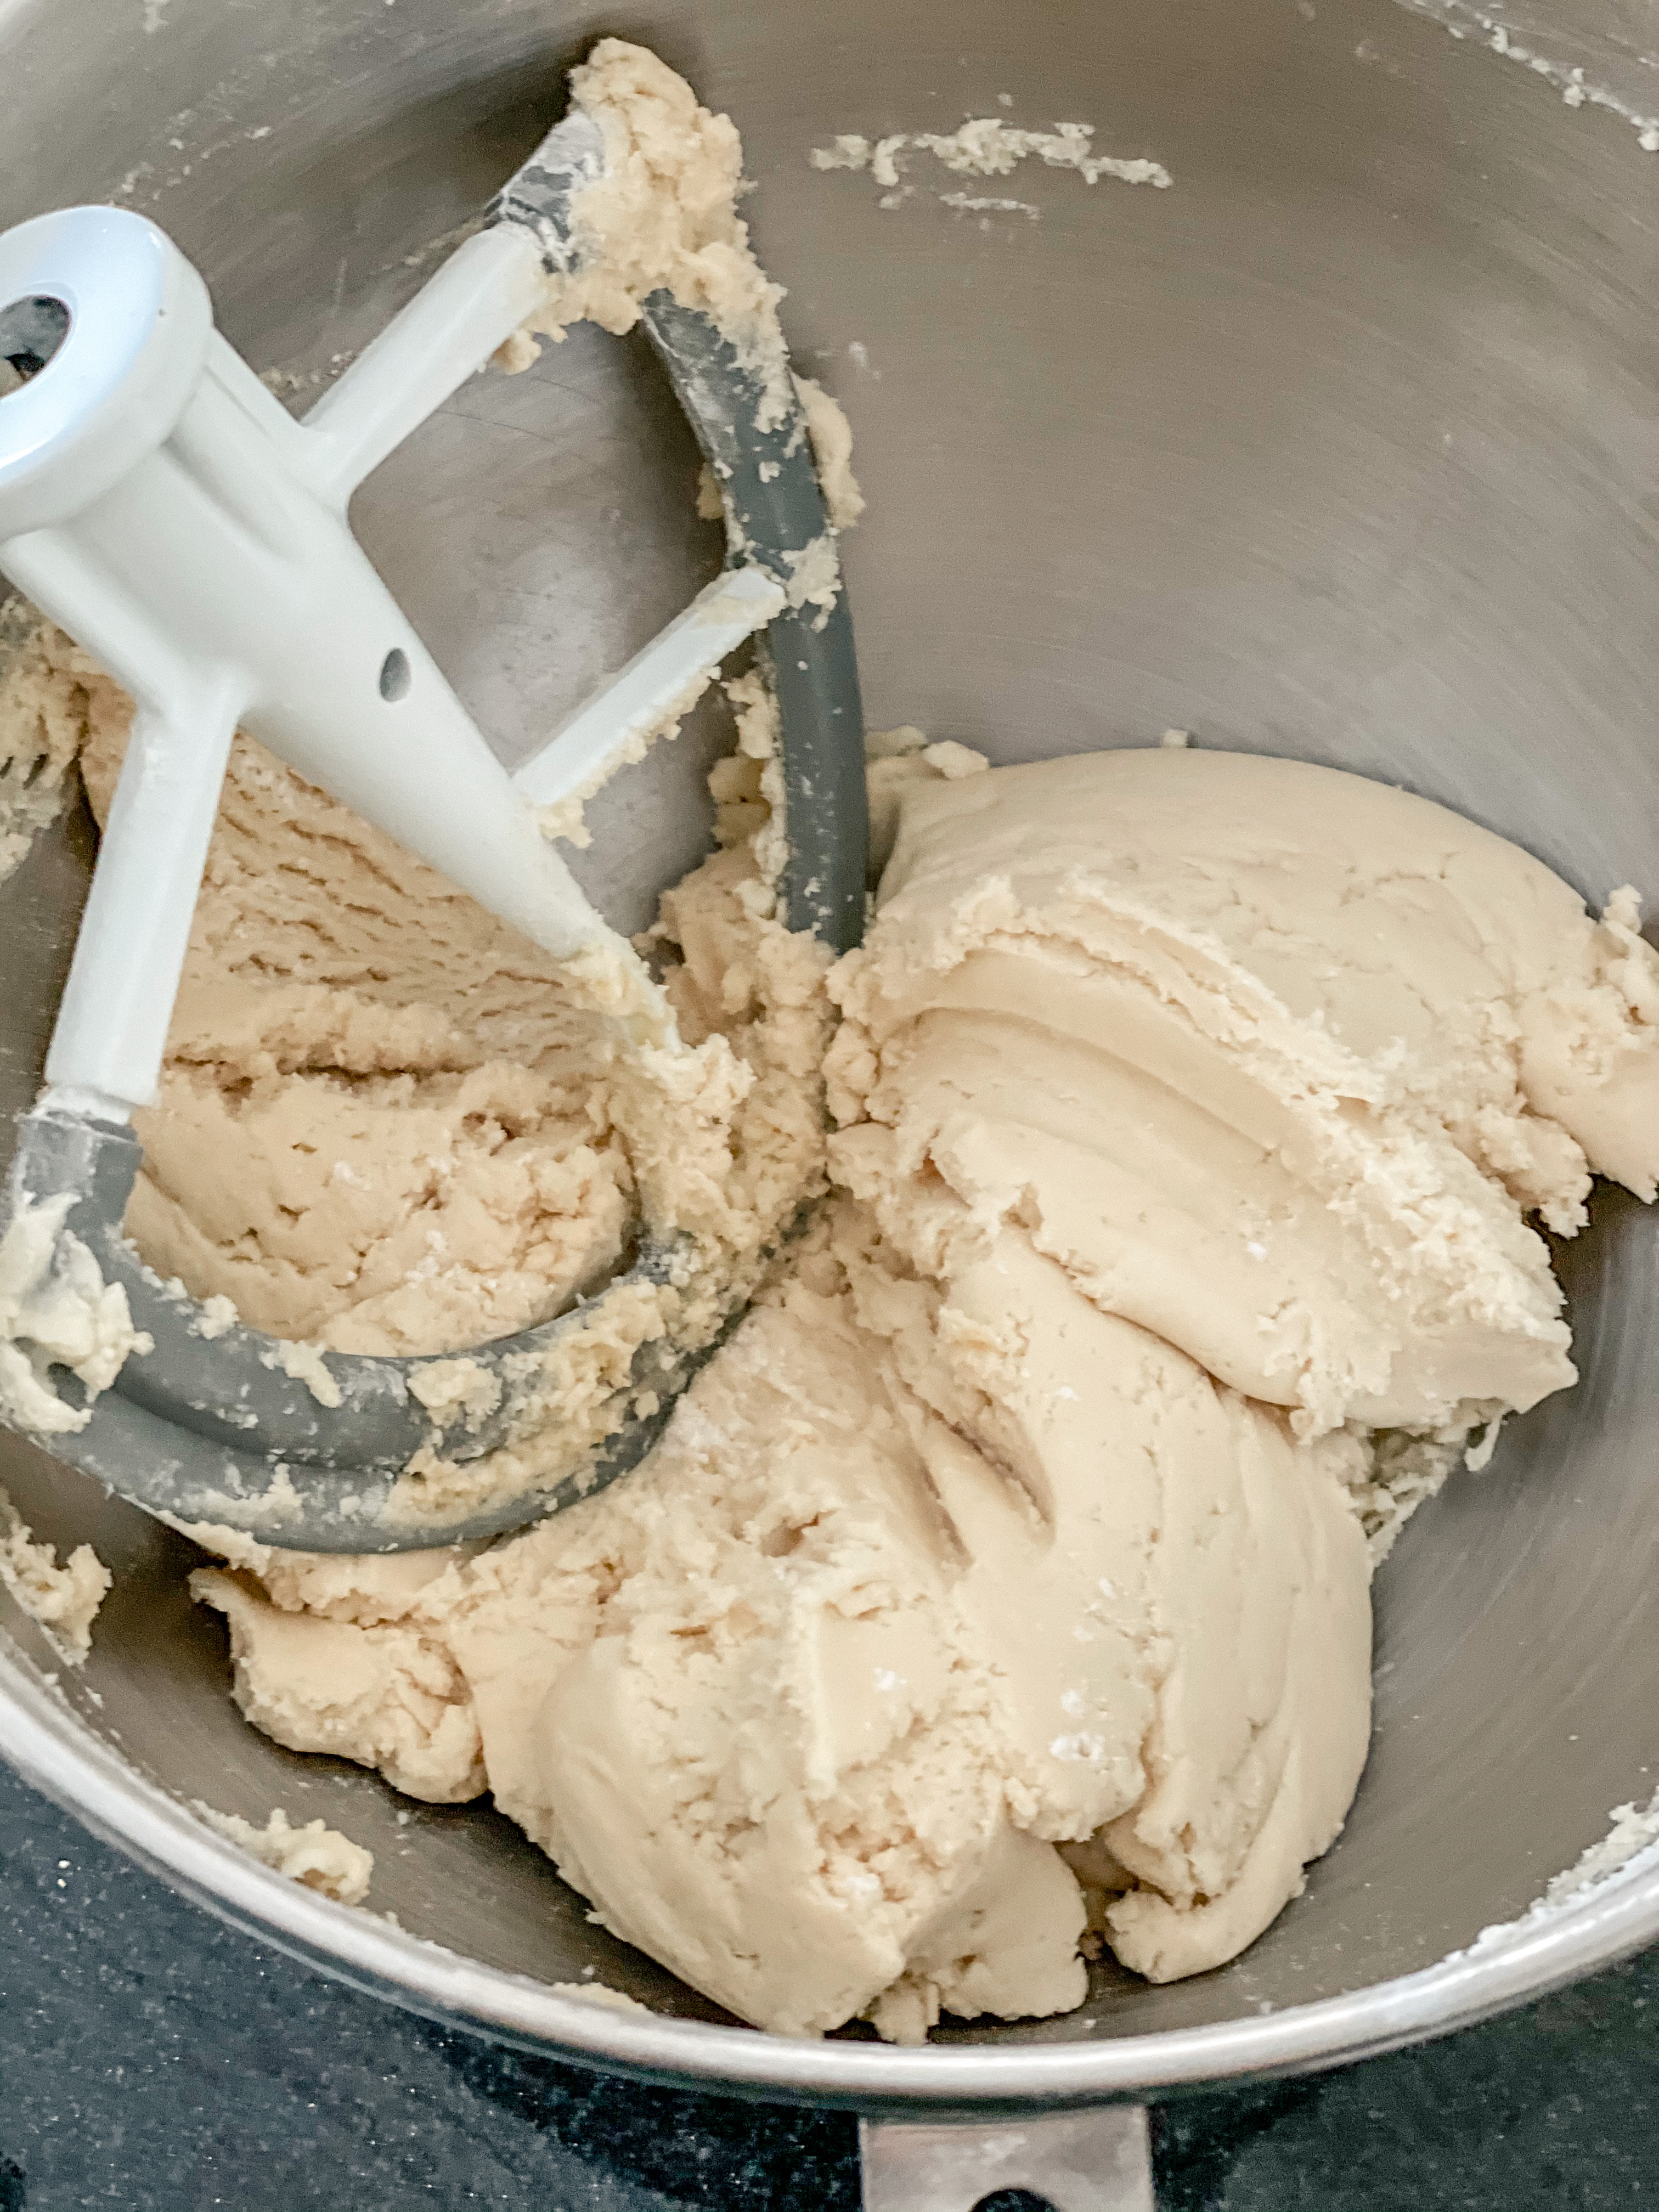
1. First, bake the cookies using the official Pi Phi Cookie Shine cookie recipe. In a stand mixer fitted with a paddle attachment, cream the butter and sugar until mixed well.

2. Add the egg yolks, one at a time. In a separate bowl, sift together the flour, baking powder and salt. Add this to the creamed mixture, alternating with the cream and vanilla.
3. Chill the dough for one hour.
4. Roll out the dough and use a cookie cutter to cut circles or arrow shapes. Place cookies on a greased cookie sheet. Bake in an oven at 350-375°F for 10-12 minutes.
(Note: If you’re planning to decorate your cookies with icing, skip dusting them with sugar before baking.)
5. Transfer cookies to a wire rack and allow them to cool completely. I recommend using royal icing to decorate your cookies. If you don’t have a go-to royal icing recipe, there are many good ones available online through a quick Google search! As for decorating tools, you’ll need a piping bag (decorating tips are optional), as well as a scribe.
When mixed, your royal icing will be an ivory color. Use gel food coloring to dye the icing to your desired colors.
6. Using the ivory royal icing, create your base layer. Pipe an outline and flood it, starting from the outside and working in. Smooth out your work with the scribe tool, moving the icing with small circular motions until it’s spread evenly. Use the scribe to pop any bubbles. If you want your cookie decoration to be a single color, allow the icing to dry completely.
If you want to add more detailed decoration, pipe a design in a different color (e.g., wine or silver blue) on top of the base layer while it’s still wet. The design will settle into the first layer as it dries.
For raised details, once your base layer has dried, outline the design of your choice using a thicker consistency of royal icing. Make sure to cut the tip of your piping bag small to allow for greater detail. I use a projector to create more intricate designs. Allow your final details to dry thoroughly.
Here’s to the Pi Phi Cookie Shine, here’s to the wine and blue!
Share your cookie creations with Pi Phi on social media by tagging @pibetaphihq. For more baking and decorating inspiration, check out Lindsay’s Instagram @wild.flourbakingco
Published March 18, 2021

